
Every iPhone owner knows the best camera is the one in your pocket. Apple’s cameras produce incredible results. But let’s be real, not every shot comes out perfect. A shaky hand, tricky lighting, or an older iPhone model can leave you with less-than-ideal photos. They might be grainy, out of focus, or lack the detail you need for printing.
So here’s the big question: how can you unblur a photo on iPhone that’s already in your library? In the past, you’d need desktop software and some serious editing skills. But now we have powerful, easy-to-use tools at our fingertips. AI technology, in particular, can do things that seemed impossible just a few years ago: sharpen blurry images, eliminate noise without losing detail, and even boost resolution by 4x or more.
In this article, we’ll cover four ways to get high-quality photos on your iPhone or other smartphones, including using an AI image enhancer, the phone’s built-in editor, professional editing apps, and shooting with Apple ProRAW.
Method 1: AI-Powered Photo Enhancer to Unblur Photos in Seconds
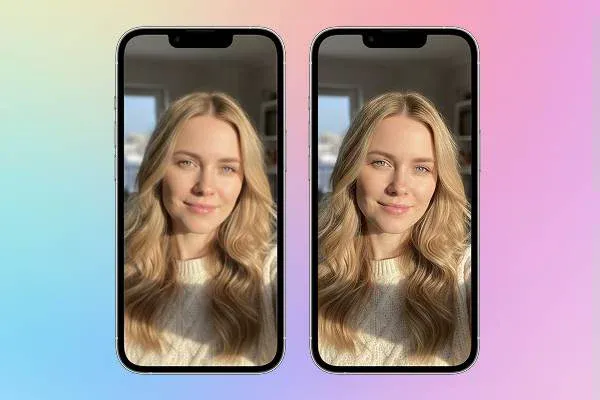
Think of AI photo enhancers as a time machine for your images. That blurry shot you almost deleted? It can become sharp and detailed in seconds. Modern AI tools don’t just tweak brightness or contrast; they analyze your photo pixel by pixel and intelligently reconstruct missing details.
The AI editing space has several standout options. Artguru specializes in image enhancement, Remini excels at reviving old portraits, and Picsart offers a wide range of creative AI features.
Tools like Artguru shine when you need quick online enhancement. This powerful web tool and app make professional-grade enhancement accessible to anyone. For example, you can upscale an image by 4x to reach 4K resolution, or go up to 8x (8K) with a premium subscription. It also handles sharpness recovery and smart noise reduction, cleanly removing grain from low-light shots without making them look plastic.

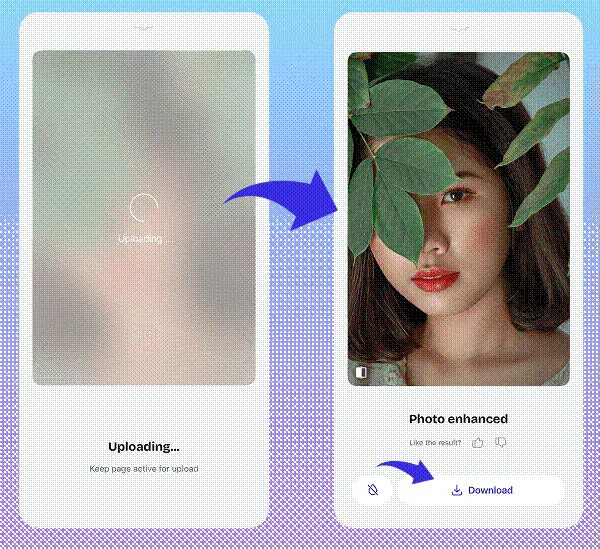
Beyond image enhancement, Artguru can also improve the quality of blurry video, remove backgrounds, and restore old damaged photos, something that used to require careful manual editing in complex software.
If you want to genuinely unblur an image and improve its quality rather than just slap on a filter, photo enhancers like Artguru are a good choice.
Method 2: Start with Quality by Shooting in ProRAW

AI can work wonders, but the best strategy is getting it right from the start. To capture maximum quality, you need to shoot smart. Enter Apple ProRAW, available on iPhone 12 Pro and newer Pro models.
What’s ProRAW? Think of it as a digital negative. Standard HEIC or JPEG files get heavily processed and compressed by your iPhone as you shoot. ProRAW preserves much more raw sensor data before that processing happens.
This gives you massive editing flexibility later. You can push exposure way up or down, pull details out of dark shadows, and recover blown-out highlights, all without destroying image quality. When you shoot ProRAW, you’re giving any editor (Artguru, Photos app, whatever) the best possible starting point.
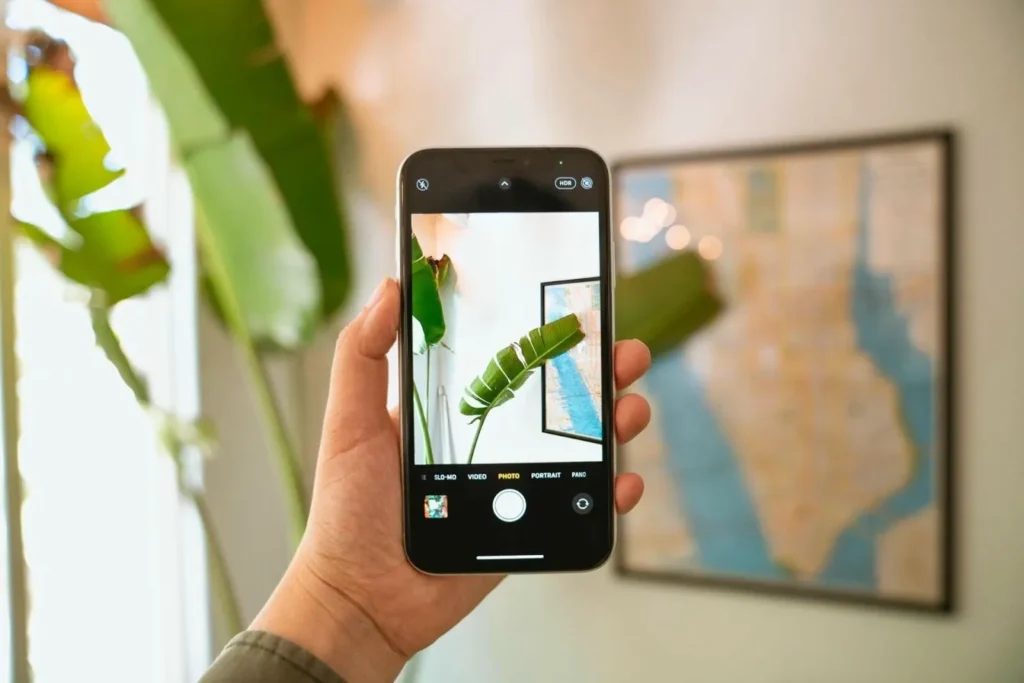
Method 3: Quick Fixes with iPhone’s Built-in Editor
You don’t always need heavy-duty tools. For photos that are mostly good but need a little polish, the iPhone’s built-in Photos editor is surprisingly capable. Most people don’t realize how powerful it is.
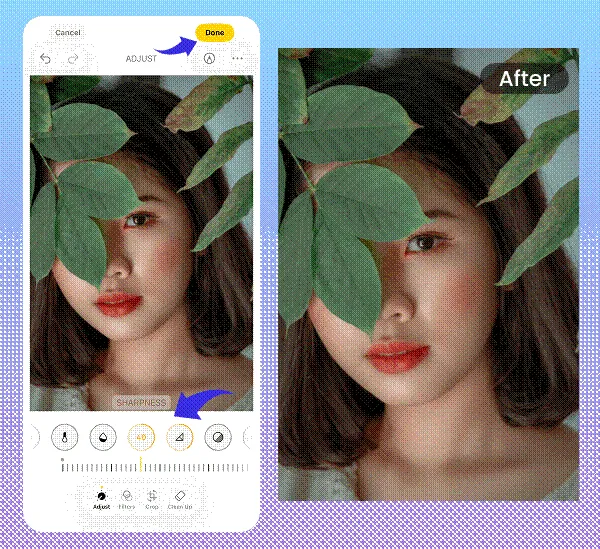
Open any photo, tap Edit, and check out these key tools:
Auto button (magic wand icon): This one-tap fix often works surprisingly well, automatically balancing multiple settings at once.
Brilliance: Unlike basic brightness, this intelligently lifts shadows without blowing out highlights, creating better-balanced images.
Shadows and Highlights: Fine-tune the darkest and brightest parts of your photo separately.
Definition and Sharpness: Bring out details and add that crisp, professional look.
For everyday editing, these tools handle most situations quickly and effectively.
Method 4: Fix Blurry Photos on iPhone with Professional Photo Editors
When basic adjustments and AI fixes aren’t enough, and you want full creative control over colors and style, professional mobile editors enter the picture. Adobe Lightroom Mobile is the undisputed leader here.

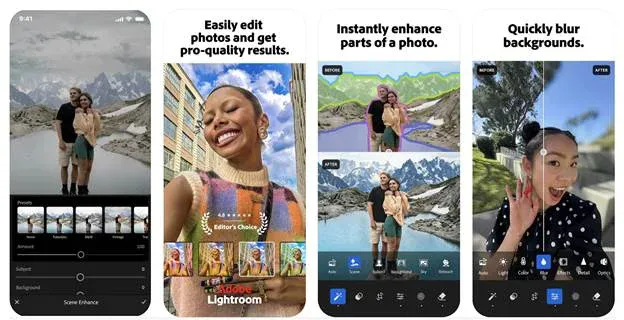
Here’s the key difference: Artguru focuses on technical quality recovery, while Lightroom is all about artistic expression. With Lightroom, you can:
- Use tone curves for precise control over your image’s tonal range
- Apply masks to edit specific areas without affecting the rest
- Master color grading with professional HSL (Hue, Saturation, Luminance) controls
- Create and save presets to give all your photos a consistent style
Conclusion
Mobile photography keeps getting better. Today, enhancing iPhone photos is easier than ever, with tools for every need and skill level.
We started with the magic of AI, using tools like Artguru that can rescue shots you thought were lost. We covered ProRAW for capturing maximum quality from the start. We explored the surprisingly powerful built-in editor for quick tweaks. And we touched on professional apps for when you want complete creative control.
Here’s the bottom line: don’t let mediocre photos sit in your camera roll. Experiment with these tools. Take that old blurry shot and run it through Artguru. You’ll be amazed. Try shooting in ProRAW and feel the difference when editing. Your iPhone already has everything you need to turn good photos into great ones. You just need to use it.