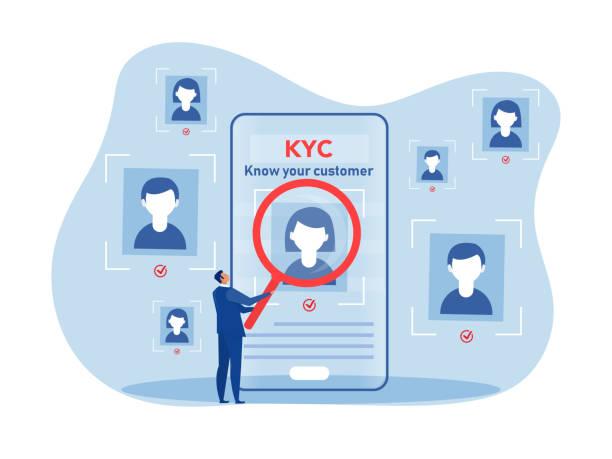
If you’re in the financial world, you know about many fraudulent activities. Do we talk about the bank or even small brands just coming up? But thanks to technology, viable solutions are coming into play, and one of them is KYC and its verification. But what is KYC, and how do you get your KYC verified?
KYC is short for Know Your Customer and aims to keep a safe workplace or business. It ensures everyone involved is who they claim to be without mischief. Thus, laundering, fraud, and other shady activities are reduced.
Here, we’ll discuss everything you need to know about KYC. Read on!
What is KYC?
KYC is the acronym for Know Your Customer. It’s an important process in the digital world. Businesses and customers need this between them to ensure the customer is who they say they are. It doesn’t matter if you, as the customer, contact them online or in person. As long as they can recognize you, it’s all good.
In today’s world, where fraud and money laundering are the norm, KYC promotes trust. So, when next you hear KYC, know it’s just a way for companies to know you better.
Why is KYC Verification Important?
The importance of KYC verification is explained in simple terms below. It is a safety net for you and the companies you work with. When they check your identification, they ensure you are you, not someone else. By doing this, fraud, money laundering, and other criminal actions can be avoided.
Security is not the only concern, though. KYC verification further guarantees that everything is honest and legitimate. It helps companies gauge your level of risk so they can offer you the right services while safeguarding themselves. Also, it is required of businesses because it is the law in many places.
Therefore, by undergoing KYC verification, you’re not just clearing administrative hurdles but also helping to create a more stable and fair financial climate for all of us. A win-win scenario exists!
How to Get Your KYC Verified
1. Choose a Service Provider
The first step you must take before trying to verify your KYC is to choose a service provider. How you’d choose your favorite coffee shop when craving coffee should be the same way you should choose a service provider. Research online and choose the one that best suits you. Once you’ve chosen one, the rest of your KYC process will be smooth!
2. Complete the Application Form
Your preferred service provider has so much work to do, and it starts with them giving you a form to complete. You know, when you want to place an order online, you must fill in some information; it’s the same case here, too. The form will ask you to fill in your usual info, including your name, DOB, and even where you live.
3. Provide Identity Proof
Providing identity proof is next on our list of how to get your KYC verified. Nowhere on the Internet will you feel you want to go through some process without providing proof of identity? You’ll surely provide proof of identity, even if it’s your BVN!
So, if there’s an issue later on, your virtual ID card can stand in for you, proving that you’re real. In the real sense, it reduces so much stress on you and the business’s end!
4. Address Proof
Another vital step when verifying KYC is the address proof. So many scammers exist in the digital space, and they’re ready to wipe businesses off their hard work. One way to prevent this is to ask customers to provide their address details.
When you provide your address details, businesses are sure you’re real. So ensure you don’t skip this step during your KYC verification process.
5. Face Verification
Not every service provider asks for face verification. But if your service provider asks, it’s important not to skip this step, as it’s even more secure. The process goes thus: They ask you to take a quick photo of yourself and then match your face to the picture on your ID.
Can you imagine the technology that goes into that? That makes it much more secure than the previous steps we discussed. If you’ve submitted another person’s ID, you’ll undoubtedly get caught in this stage!
6. Submit the Documents
The next step to get your KYC verified is to submit the documents. Submitting the documents and sending them to your service provider after completing the application form is normal. We’re fortunate in our age because we don’t have to go down to their office. We can do everything online!
7. Wait for Verification
Immediately after submitting all your paperwork, the service provider swings into action. Note that service providers aren’t biased when reviewing your application. The only thing that’s likely to vary is how long this takes. It could be as quick as a few days if they’re not swamped with requests, but it might stretch into a few weeks if they’re super busy.
8. Confirmation
You’ll receive a friendly confirmation once your KYC gets the green light. You’re all set to use the services you signed up for!
Conclusion
If companies want to maintain the integrity of their financial transactions and prevent illegal activities., they must implement KYC. Following the steps in this post, you can quickly get your KYC verified and access the needed services.
